Make Your Book
Create and Edit Chapters
Just as your book can contain several pieces of front matter or back matter, and several parts, so too can your book include several chapters. In Pressbooks, a chapter is the primary unit of content in the main body of your book, and each Pressbooks in chapter must belong to a part.
When your book is first created, it will automatically include a part called ‘Main Body’ and that part will include a single chapter called ‘Chapter 1’. You can create as many new chapters as you like, move chapters between parts or reorder them within a given part, and edit or delete chapters.
Add a Chapter
- Click ‘Organize -> Add Chapter‘ from the left sidebar menu of your book’s dashboard (or click the ‘Add Chapter’ button on the Organize page itself)
- Enter a title on the Add Chapter page.
- Add your desired content.
- Select the Part your chapter should belong to
- Select the relevant Chapter Type for your chapter type
- Click the “Create” button
Delete a Chapter
If you’ve created a chapter that you no longer wish to include in your book, you can delete it. To do so:
- Click ‘Organize‘ in your book’s left-hand admin menu.
- Hover over the name of the Front Matter you’d like to delete and click ‘Trash‘
Edit a Chapter:
- Go to Organize from the left sidebar menu of your book’s dashboard
- Click the name of the chapter you’d like to edit
- Make revisions to the content, the title, or the chapter settings
- Click “Save”
Chapter Types
Each chapter in Pressbooks is automatically numbered unless you’ve disabled “Part and Chapter Numbers” in your book’s Global Theme Options. However, you can decide which chapters in your book aren’t numbered by manually changing its “Chapter Type.” There are three chapter types to choose from:
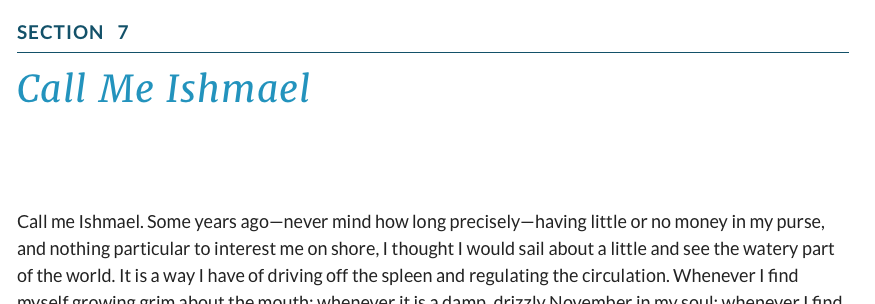
- Standard: A standard chapter will have a chapter title which may include design elements depending on the theme, and includes the chapter number
- Numberless: A numberless chapter will not include the chapter’s number on the title page, and may not contain other elements included in the standard chapter title page design
- No chapter type: (default) This chapter type typically resembles the “Standard” chapter type
To remove automatic numbering from a chapter:
- Open up your chapter editor
- Select ‘Numberless‘ from the ‘Chapter Type’ dropdown menu
- Save your changes
Afterward, the automatic numbering of chapters in your book will skip all numberless chapters, as seen in the example below:
1. A Great Chapter
A Numberless Chapter
2. Another Great Chapter
Another Numberless Chapter
3. A Wonderful Chapter
Status & Visibility Settings
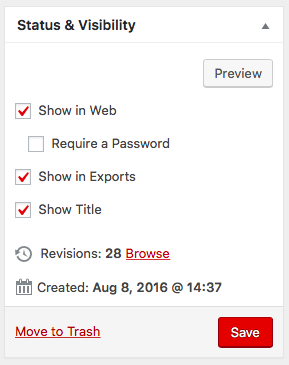 In the Status & Visibility menu to the right of the content editor, you will find options to modify the following settings:
- Show in Web: Choose whether or not the chapter displays in your public webbook
- Require a Password: Choose whether or not a chapter that is set to display in your public webbook is password-protected. Common uses for password protected content include situations where content needs to undergo some form of pre-release or peer review before the chapter is made fully public.
- Show in Exports: Choose whether or not the chapter displays in your file exports (ex: PDF, EPUB, and more)
- Show Title: Choose whether or not the title for the chapter displays for all formats
This menu also includes the following options:
- Preview: View how your webbook will look with current changes
- Revisions: Browse your revisions to restore a previous version of the chapter. Pressbooks saves the 50 most recent revisions for front matter, back matter, parts and chapters.
- Move to Trash: Remove the entire chapter from your book
- Save: Save your changes
Note: Along with other menus, the Status & Visibility menu can be moved (via clicking and dragging) to different parts of the chapter editor page. If this menu does not appear in its default position to the right of the content editor, you may have inadvertently moved it further down the page, below the content editor. It’s possible click and drag it back to its default position.
Viewing Password-Protected Content
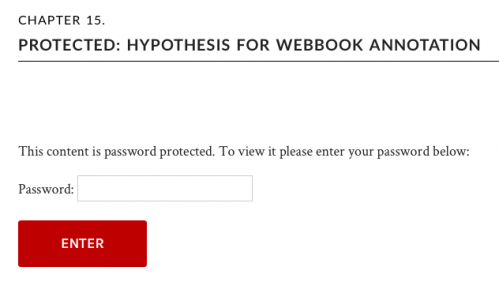 When visitors navigate to a public chapter which requires a password, they will see the chapter title and a prompt asking them for the password where the content would normally display.
If the correct password is entered, the user will have access to that chapter and all others in the book which are protected by the same password.
Using the Visual and Text Editors
When editing content in Pressbooks, you can move between two editor views: the visual editor and the text editor.
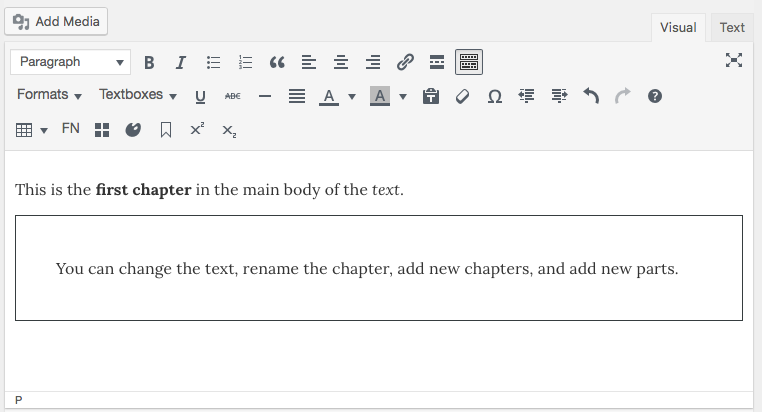
The Visual Editor
The visual editor is a WYSIWYG (what you see is what you get) editor with a toolbar that allows you to style your text. This editor will emulate the style and display of your exports whenever possible.
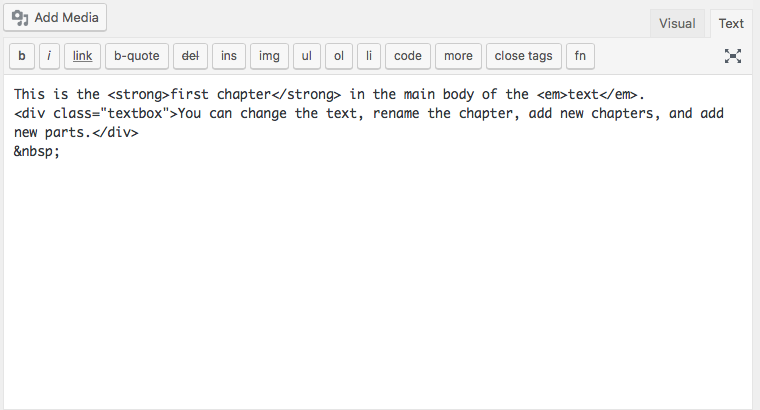
The Text Editor
The text editor shows the HTML view of your chapter. What this means is that you’ll see all the textual content of the chapter, as well as the tags for any added styles and markup.
Learn more about Pressbooks’ Visual & Text Editors.
View, Compare, and Restore Revisions
All saved versions of your chapter, including autosaves, will be recorded and available in the Revisions menu below the editor interface. Each logged version includes the name of the author who saved the chapter, how long ago it was saved, and a linked timestamp for the post.
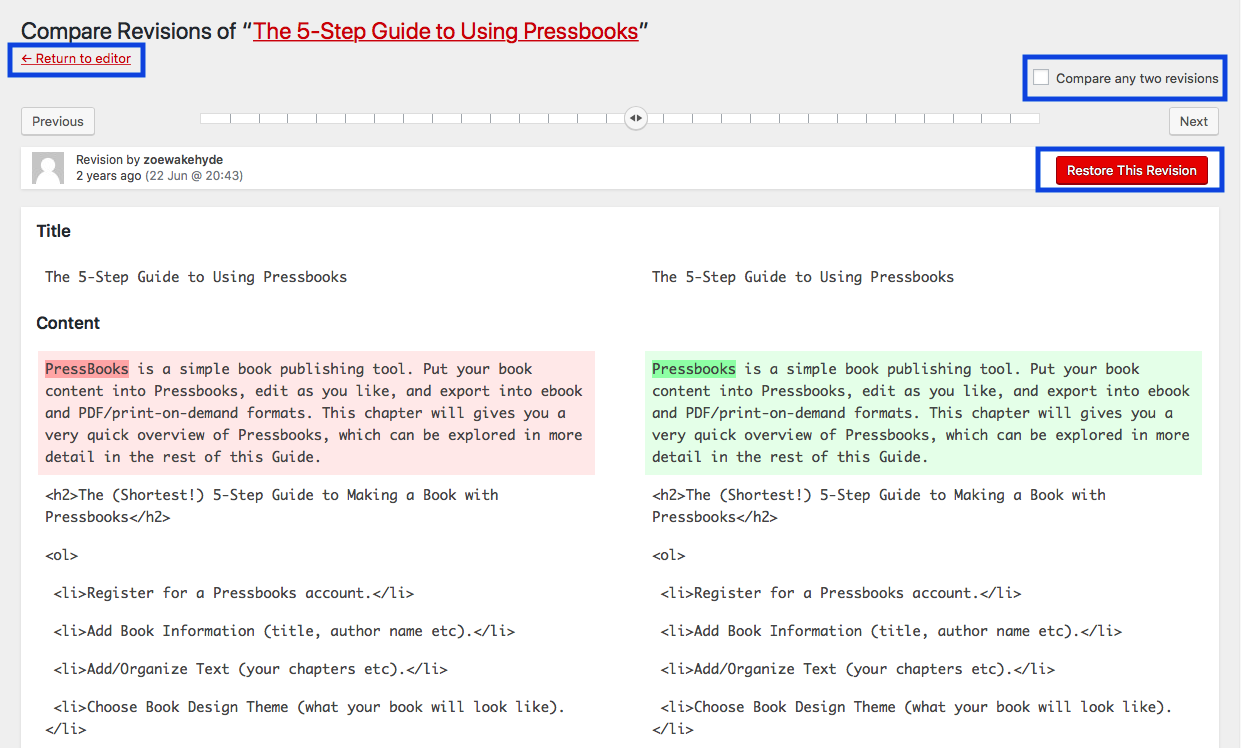
You can view past revisions by clicking ‘Browse‘ next to the revision count in the Status & Visibility menu or by clicking the timestamp of any specific revision you are interested in. From the ‘Compare Revisions’ interface, you can:
- Compare any two saved versions of the chapter by checking the “Compare any two revisions”
- Restore any version of the chapter by navigating on the timeline to the intended version, then clicking “Restore This Revision”
- Click “Return to editor” to be brought back to the chapter editor page
Chapter Metadata
The Chapter Metadata section is below the visual/text editor and allows you to add metadata that applies specifically to a chapter rather than to the entire book.
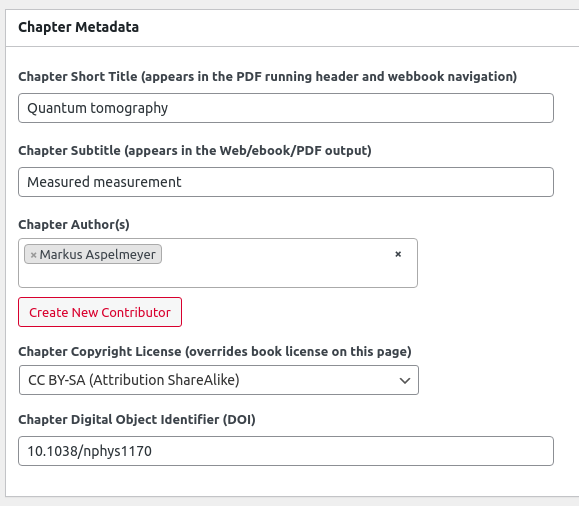
Chapter Short Title: Enter a shorter version of your chapter’s title. You can set the short title to display in the running content of a book’s PDF export. The short title is also used for webbook navigation cues.
Chapter Subtitle: Text entered here will display in your table of contents as will as the chapter title page.
Author(s): If the author of a chapter is different from the author of the book, select the author from the dropdown menu to attribute the chapter to that author. If the author has not yet been added as a contributor, you can click “Create New Contributor” to add them. When an author is added to the Chapter Metadata, the author name will appear beneath the title of the chapter. The name will also appear in the chapter-level license statement and can be displayed in an optional ‘About the Authors’ section.
Chapter Copyright License: If a chapter has a copyright license which differs from the book’s global copyright license, then you can select the chapter copyright license from the dropdown menu. The chapter copyright license will override the book license, but only for that chapter. The chapter-level license will display in the footer of each chapter in the webbook. It can also be set to display in exported book formats when the “Chapter Licenses” setting is enabled in your Global Theme Options.
Every webbook chapter has a chapter-level license statement in the footer regardless of whether a specific chapter license has been chosen. There are four different scenarios:
- A chapter has a chapter-level author, and a chapter-level license has been selected. The license statement will read CHAPTER TITLE by CHAPTER AUTHOR.
- A chapter has a chapter-level author, and a chapter-level license has not been selected. The license statement will read BOOK TITLE by CHAPTER AUTHOR.
- A chapter does not have a chapter-level author, and a chapter-level license has been selected. The license statement will read CHAPTER TITLE by BOOK AUTHOR.
- A chapter does not have a chapter-level author, and a chapter-level license has not been selected. The license statement will read BOOK TITLE by BOOK AUTHOR.
Chapter license also affects cloning. If a public, openly licensed public book contains chapters that are licensed as All Rights Reserved or No-Derivatives, those chapters will not be cloned onto the new network, since their licenses do not permit others to freely publish derivatives.
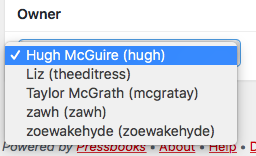
Owners
If your book has multiple users and collaborators, you can select an owner for the chapter from the dropdown menu in the Owner section. By default, the owner is set to whoever initially created the chapter. Each chapter can have a single owner. The chapter owner is used to determine who can edit and publish the chapter based on user roles.
Edit Chapter URL
If you’d like to edit the URL for a chapter (or any Part, Front Matter or Back Matter), click the Edit button to the right of the Permalink under the title in the editing interface. While the book URL is fixed, the slug identifying the particular page you are editing can be changed freely.

Discussion and Comments
By default, comments are disabled globally for your book. If you choose to enable comments globally for your book, you can control chapter-level comment settings in the Discussion and Comments sections.
Discussion
In this section, you can control your comments settings on the chapter level with the following options:
- Allow comments
- Allow trackbacks and pingbacks
Comments
Through this interface, any user with administrative access to the book can leave a comment from within the editor. If any comment has been left on the webbook, administrators can view and moderate comments from this panel.
Changing the Chapter Label
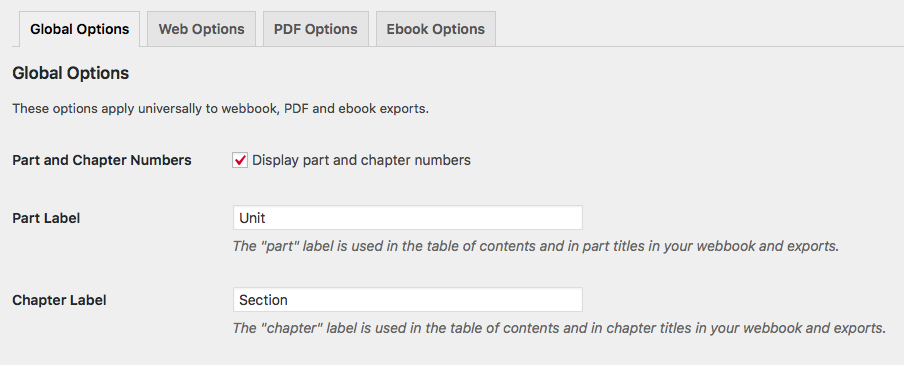
If you’ve chosen to display part and chapter numbers in your book, you can replace the default chapter label with the name of your choice. To customize the Chapter label in your book:
- Click ‘Appearance > Theme Options‘ from the left sidebar menu in Pressbooks
- Enable the ‘Part and Chapter Number‘ setting from the Global Options tab.
- The “Part Label” and “Chapter Label” settings will appear. Enter your preferred Chapter Label.
- Click Save Changes at the bottom of the page
The labels will change wherever they are used in the given format of your book. This includes the table of contents in some formats and the part and chapter title wraps for all formats.